

I know that Notion was originally a personal time management tool. However, when I use them for managing my habits, it is extremely effective. Also, how Notion financial planning will make you surprised.
Since then, I set a goal to manage my money-making habits. The first step towards this goal is to monitor my personal finances this year to improve and increase my savings.
Originating ideas
Before I started designing with Notion, I made my own list of things that interest me, including:
Personal spending vs. monthly income
Bank accounts
Receipt of each expense
Person or organization involved in money collection and spending.
Then I built tools to solve my problems: updating my monthly income, spending, the money in the banks I have, recording the receipts and sorting them by search categories.
Build database on Notion
Go to Notion and sign up for a free account. Create a new workspace by the option “Table”. Start importing your data the way you would use Excel or Google Sheets.
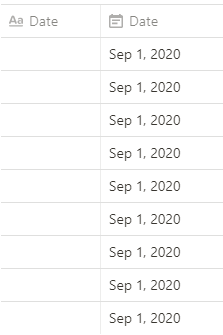
Create additional column ‘Date’
For more accurate tracking, you need to add specific time for revenue and expenditure. For example, the date you receive your salary, the date you spend, transfer or invest, …
Add a new column
Click “+” to add a Column next to the first Column of the table
Rename the Column you just created to “Date” and select “property” as Date to import the data, you should be able to see the calendar selector:

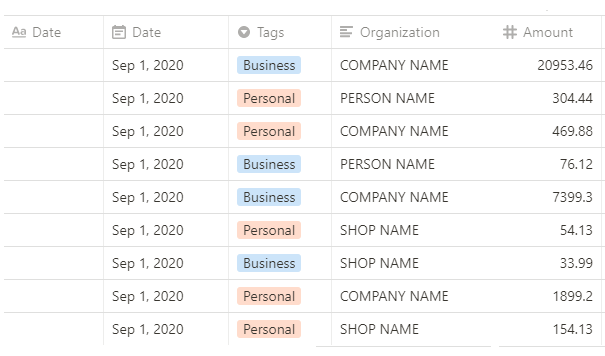
Income vs. Expenditure
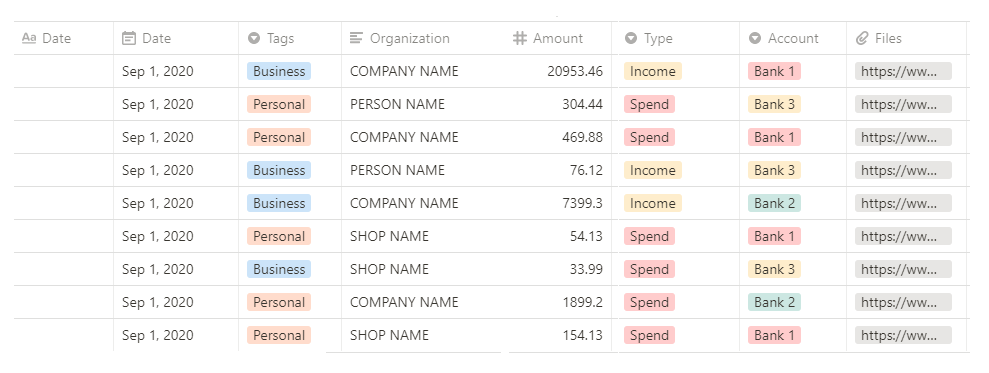
You add the Amount column, select the “Amount” property. Attached is an Organization column with the “attribute” type of Text. These are 2 columns to help record the amount and where you made the money transaction. Giving away precise information on where to go is a way to help you control your finances more easily.

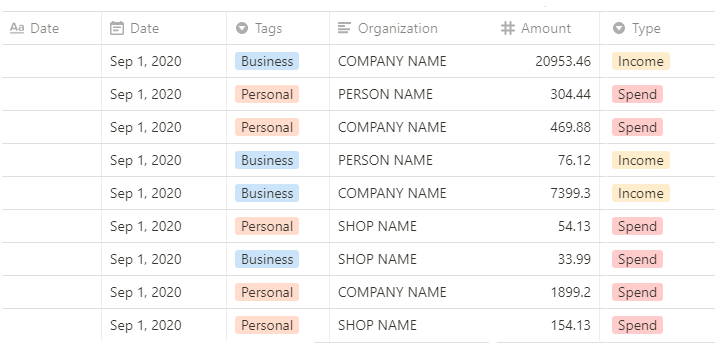
Once you have these 2 columns, you create more columns and add 2 options “Income”, “Expenditure”. You will be able to make a selection for each activity you just performed.

Bank account
You need to define the number and target for all the bank cards you have, which can include: saving, receiving salary, shopping, investing or doing business if available.

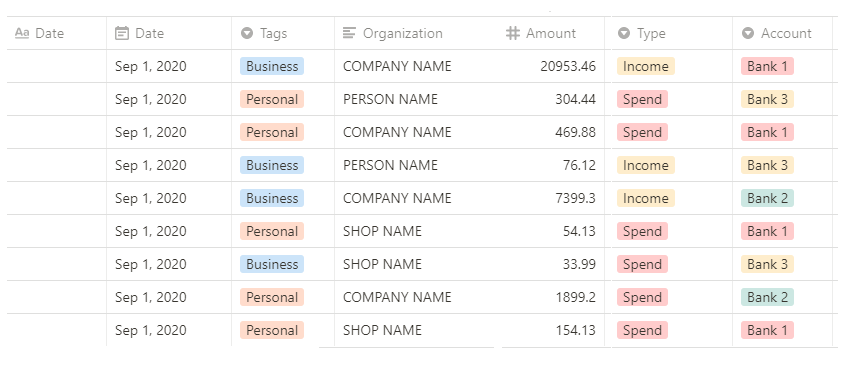
Follow the steps above and add the Notion of the banks you have. You will easily find the bank to which you made the transaction as needed.
Attach the receipt
This is the item for which you need attached data (files, images, links) in the Comments table.
In this case, when you reference the transaction to the relevant receipts or statements, you’ll find the receipts you store: shopping, utility bills, PayPal, earnings, …

Set the “File” Column with “properties” to File and media, you’ll see an option to Upload or Embed Links. It can connect to Google Drive, where you upload your PDFs and scanned receipts.
Sort, search and export
Just like Excel or Google Sheets, Notion allows you to have an overview of your income and expenses. This will be done based on an analysis of your track items.
When you go to any column, you can use Filters and see the order of expenses from more to less, or vice versa.
One way to get an overview of your spending or income is to do an analysis based on your financial tracking items.
You can also export your income / expense data based on the filtered value to these formats – PDF, HTML, Markdown & CSV.