

Notion has established a strong presence in the realm of personal productivity, and its recent additions have contributed to its growing popularity among small teams and businesses as well. A notable benefit of Notion is its inherent capability for content management within a page. You are not limited solely to paragraphs and media files. You have the ability to generate columns and establish a cohesive framework for the entire page. Here is a step-by-step guide on creating columns in Notion.
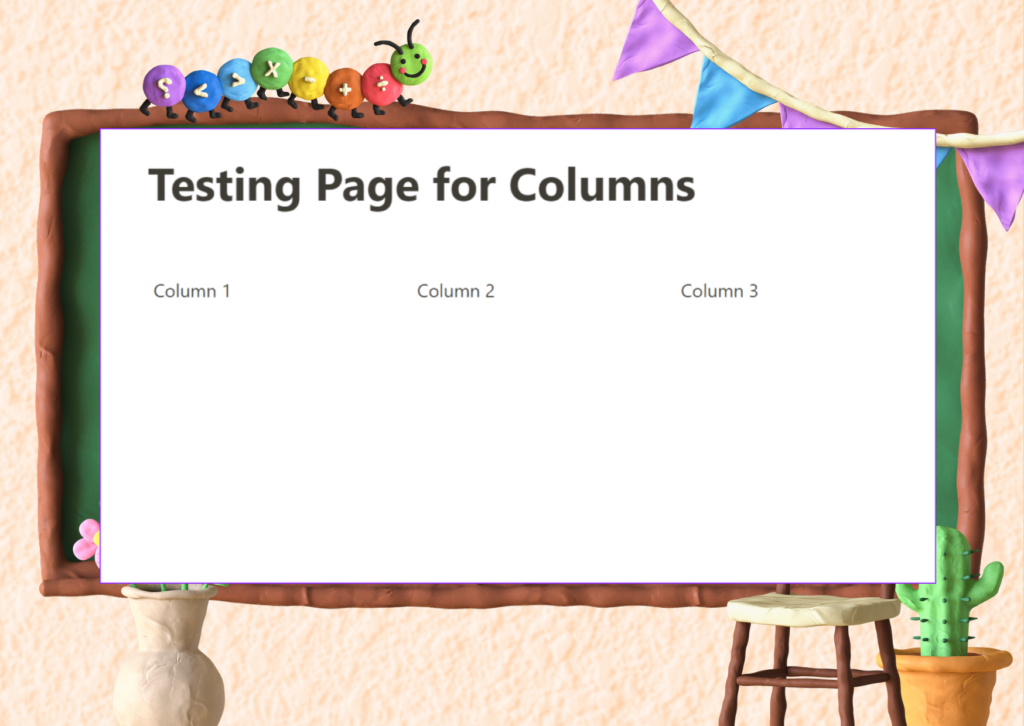
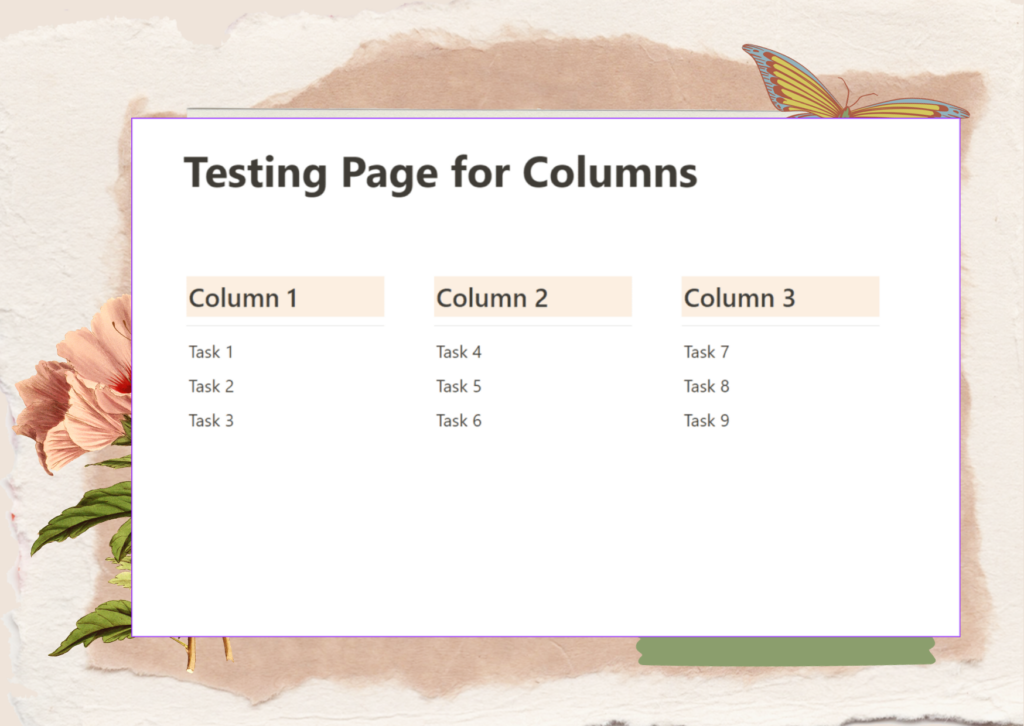
Columns play a significant role in an ordinary Notion page. Additionally, you observe an abundance of columns being utilized in certain top-tier Notion templates developed by community contributors. The appearance of your Notion page lacks visual interest due to the absence of columns. We will demonstrate the process of creating columns and tailoring them to suit your specific tastes.
Build columns in Notion
Although Notion offers a wide range of features, the user experience design is disappointing. The software’s navigation can be challenging for inexperienced users. To initiate the process of creating columns, please refer to our specialized article on Notion tips and tricks and subsequently follow the instructions provided.
Important: The techniques for including several columns in Notion are also applicable on an iPad.
Utilize the drag-and-drop technique
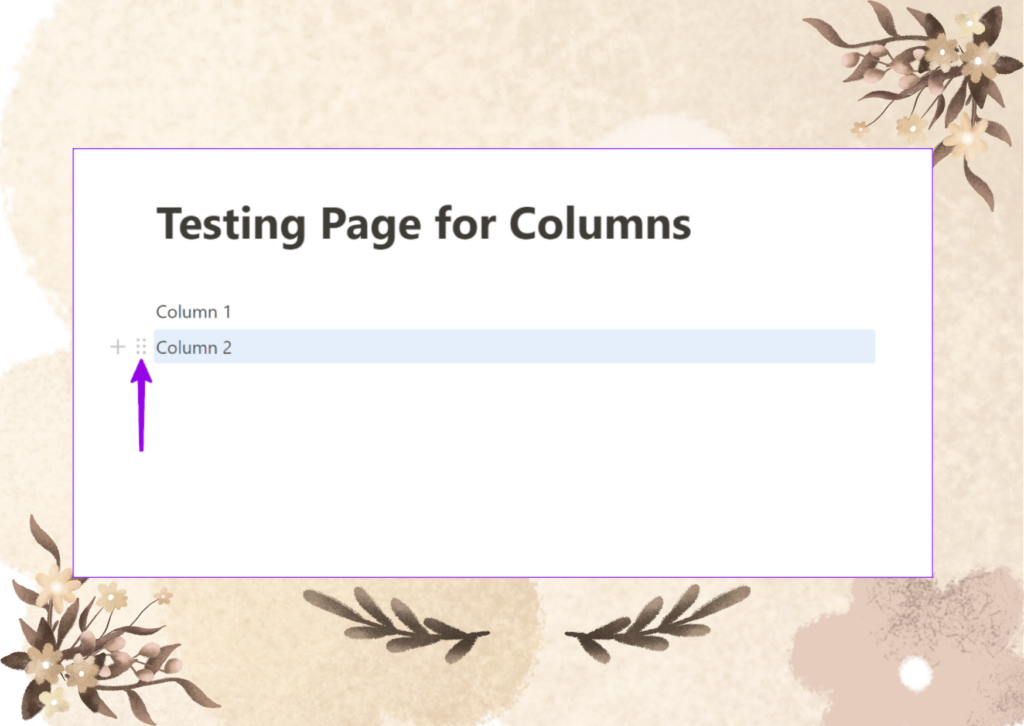
Currently, there exist multiple methods to create columns within a Notion page. The drag-and-drop technique is a simple and longstanding approach for creating columns. Let us expeditiously review the steps.
Step 1: Open the Notion app and create a new page. Enter the desired column header.
Step 2: Press the Enter key and enter another column heading underneath it.
Step 3: Move the mouse cursor over the second block (Column 2, in this case) and drag it next to the block above it (Column 1).
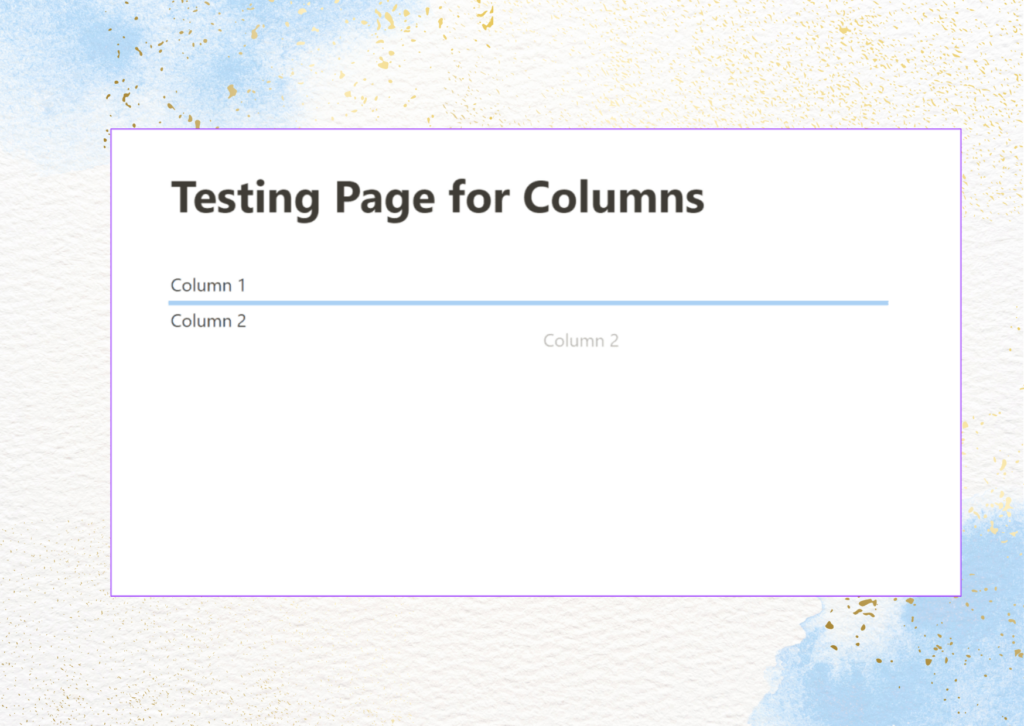
Step 4: It is possible that you will see a horizontal strip colored blue. However, please refrain from placing your block in that location.
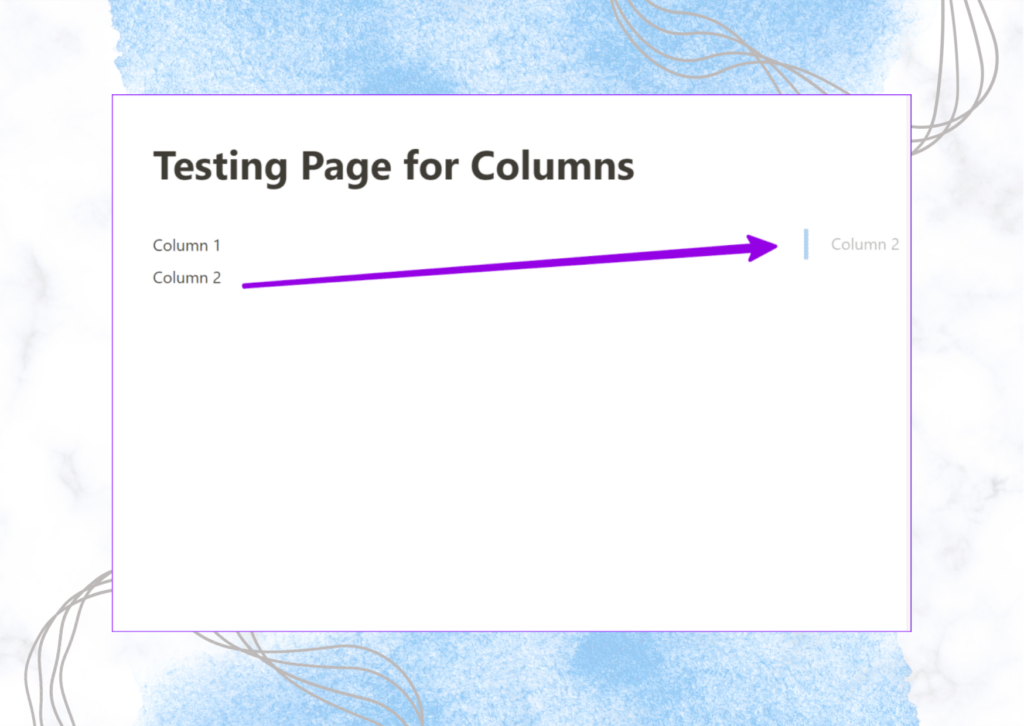
Step 5: Shift the block horizontally towards either the left or right side until a vertical blur bar becomes visible. Place your block onto a vertical bar, and your column will be prepared for usage.
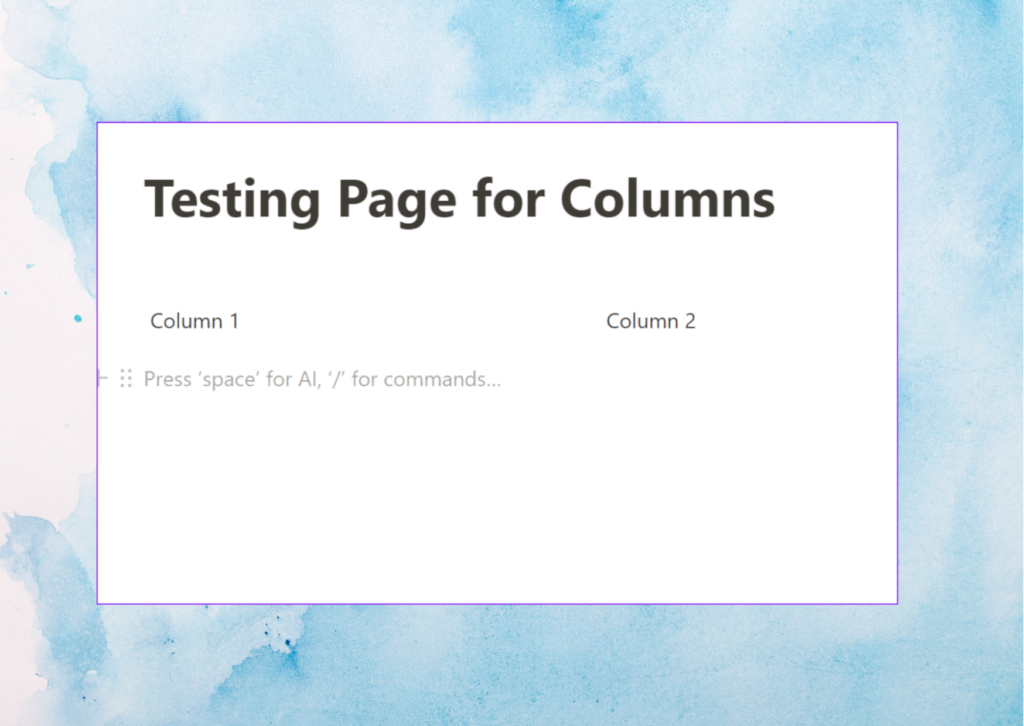
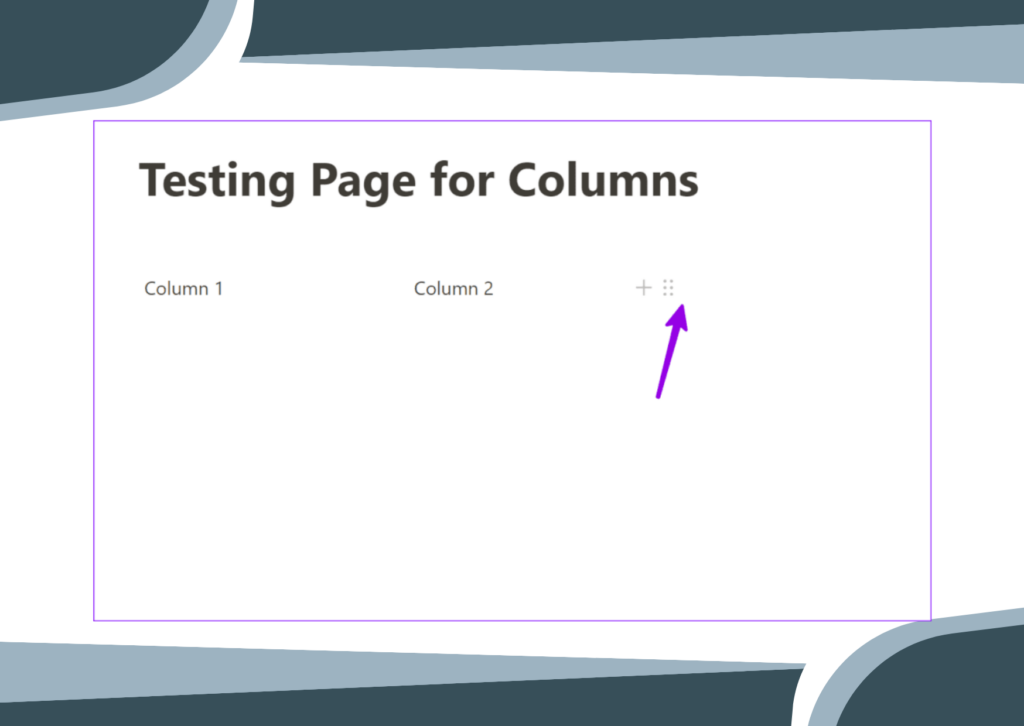
Moreover, you have the ability to generate many columns according to your requirements and effectively organize your workplace.
Use the Slash (/) Command Menu
In response to the growing demand for column creation in Notion, the firm introduced an additional method for implementing columns on a page. The aforementioned drag-and-drop technique may prove inconvenient for certain individuals, and on occasion, the software fails to exhibit a vertical blur bar for converting a block into a column. The forward slash (/) command can be a superior choice for many individuals.
For newcomers to Notion, it is important to understand that the ‘/’ command has significant importance within the software. Upon pressing the ‘/’ key, the software presents multiple choices for transforming your text into a sophisticated paragraph.
Step 1: Access a Notion page and enter the forward slash character (/).
Step 2: Begin composing columns and review recommendations for advanced blocks.
Step 3: You have the ability to generate a maximum of five columns.
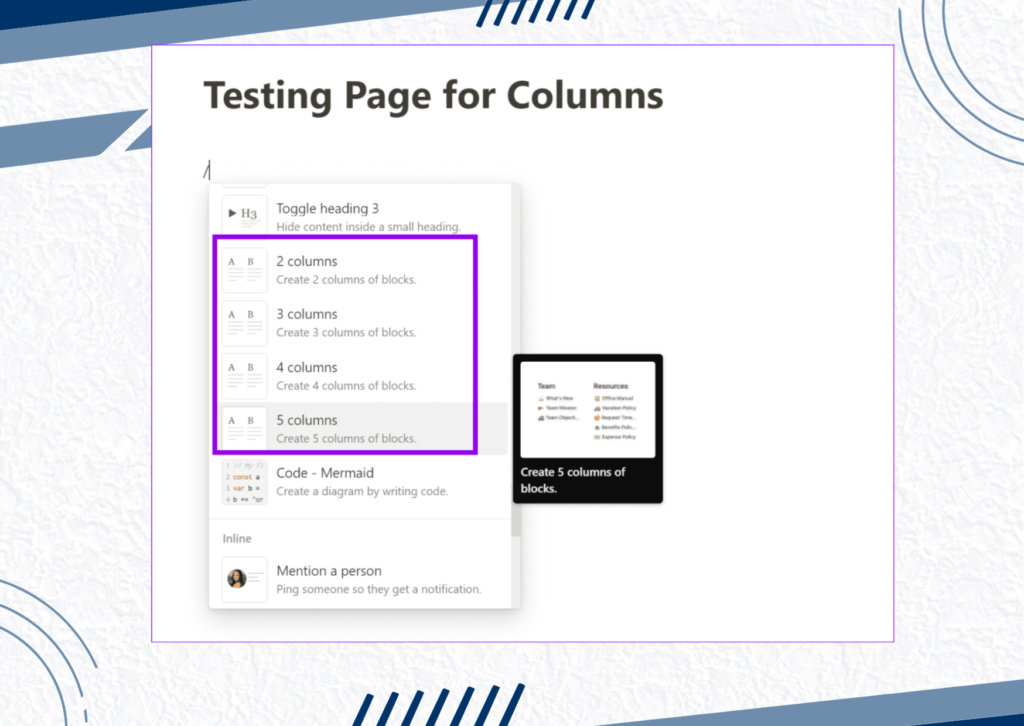
Step 4: Notion does not display your active columns. To observe the column blocks in operation, it is necessary to hover the pointer over them.
Despite its imperfect implementation, we still consider Notion to be more convenient than the drag-and-drop method.
Create columns by using current blocks.
Another clever technique is to generate columns using your own Notion blocks. You have the ability to choose pertinent sections and convert them into columns. Let’s observe it in practice.
Step 1: Open a page in Notion and generate multiple blocks with column titles.
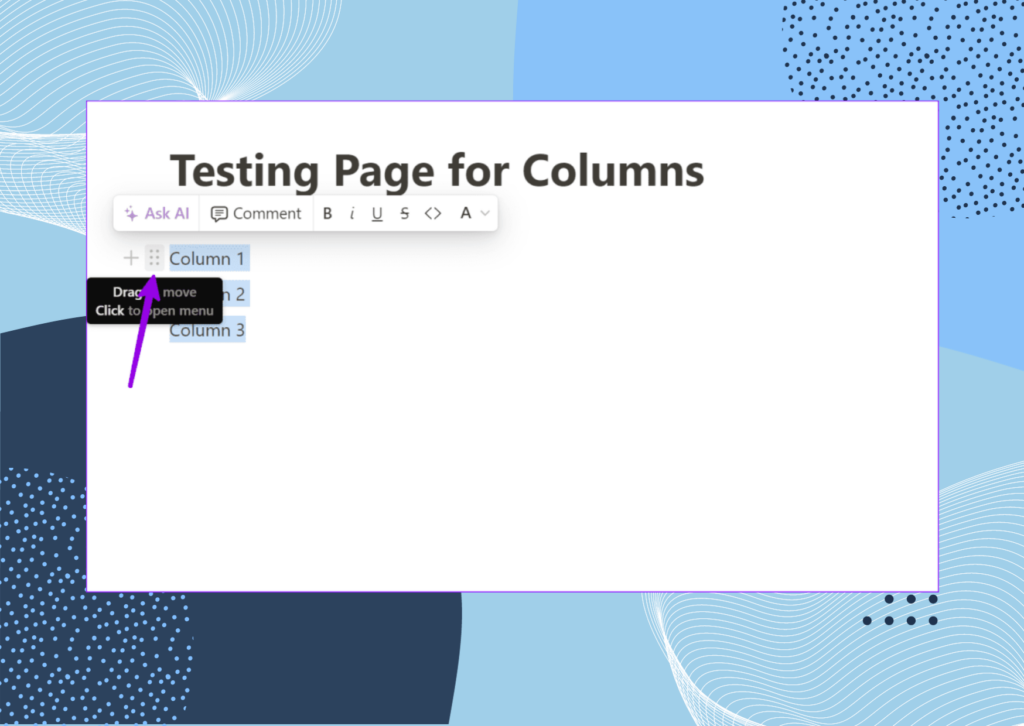
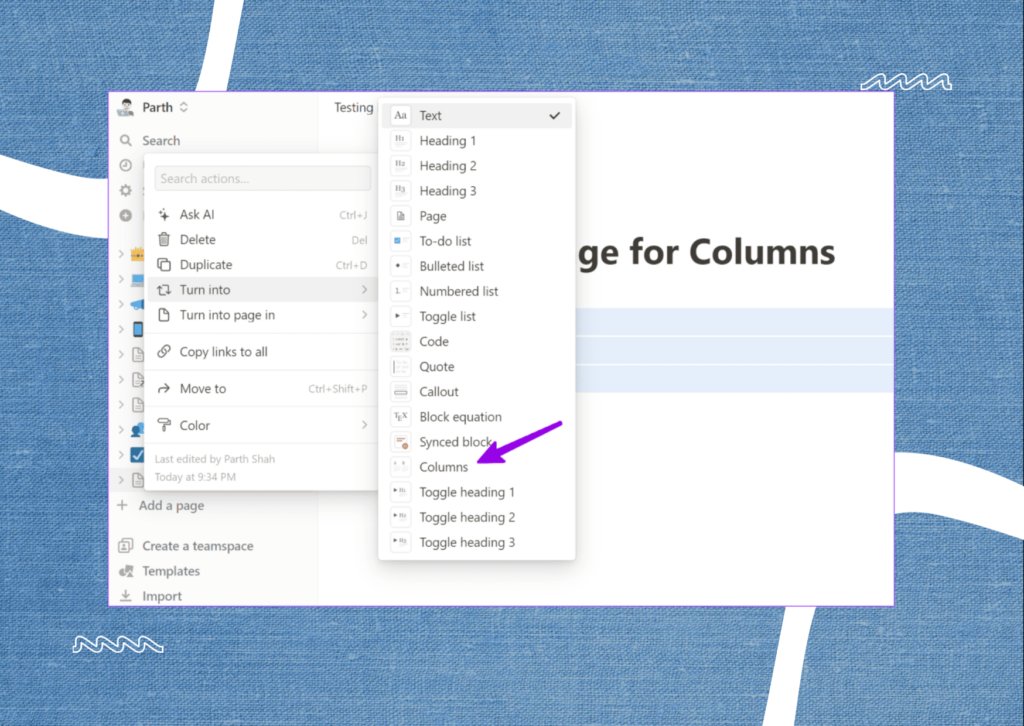
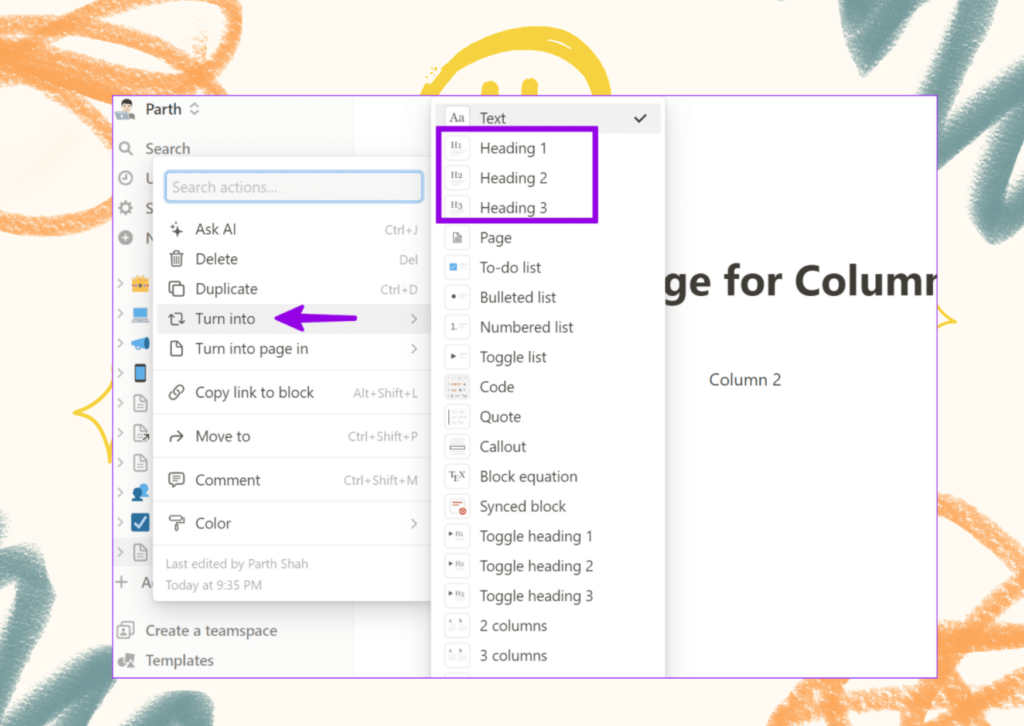
Step 2: Highlight all blocks and click on the menu icon with six dots.
Step 3: Extend the Turn into option.
Step 4: Choose the desired columns.
Inspect each of your columns in operation and commence the process of categorizing pertinent data beneath them.
PERSONALIZE YOUR COLUMN TITLES
Once you have established side-by-side columns in Notion, you have the ability to personalize them. Ultimately, your column heading must distinguish itself from the ordinary text. Multiple methods exist for personalizing a column header in Notion. You have the option to utilize a ‘Heading’ style (1, 2, or 3), incorporate a colored background, and even include a partition to enhance distinction.
Step 1: Select the six-dot menu located next to a column and then expand the Turn into option. Choose either Heading 2 or Heading 3. Converting it to Heading 1 is not advisable as it appears excessively huge and attention-seeking.
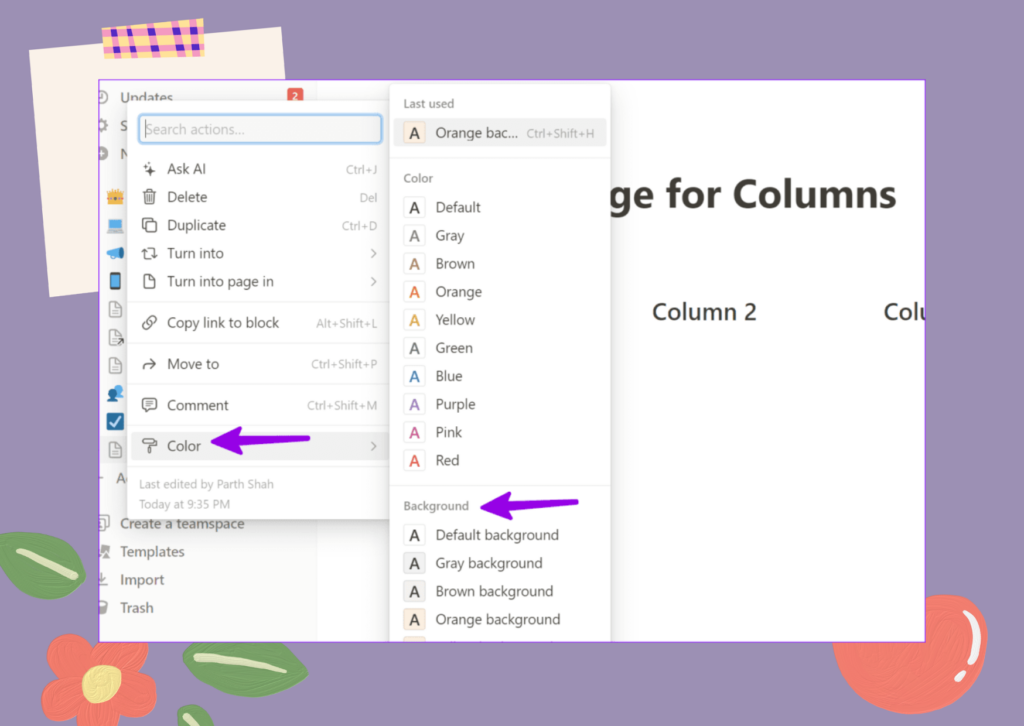
Step 2: Use the same menu and enlarge the Color selection. Apply an aesthetically pleasing color to the background of your column heading.
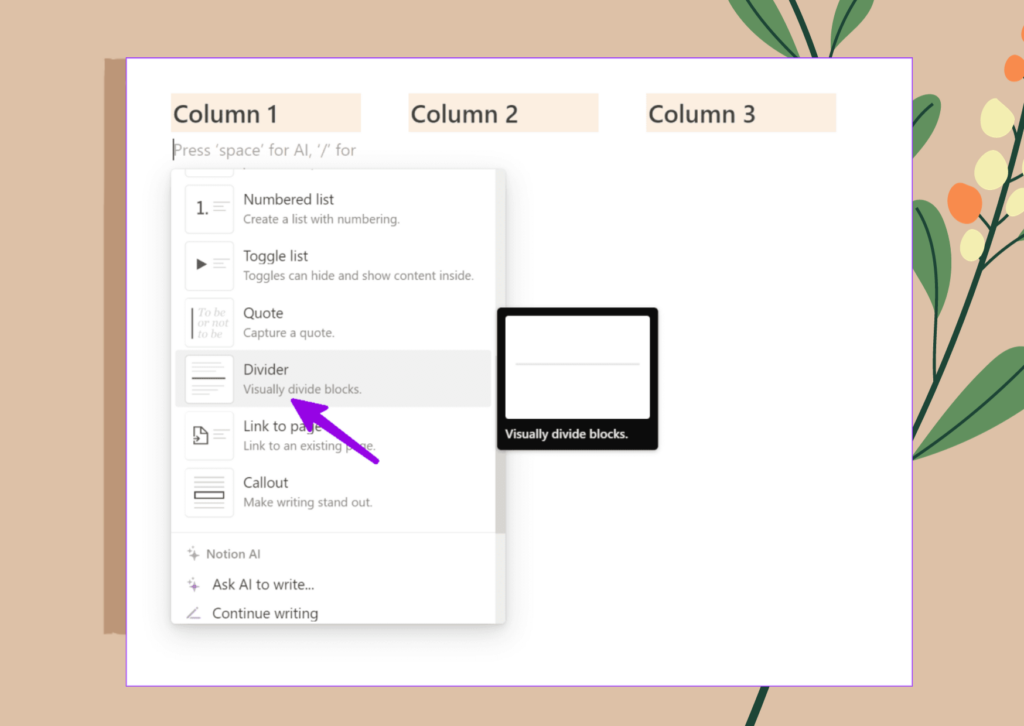
Step 3: Additionally, you have the option to click on the + button located next to a column and insert a Divider from the context menu.
You can apply the same procedure to all the columns on a page. Ultimately, the responsibility lies with you to personalize the Notion columns by utilizing a wide array of options readily available to you.
Organize your Notion content in a fashionable manner.
Devoid of columns, your Notion page appears as an uninterrupted succession of canvas, resembling an endless list. What is the reason for your delay? Efficiently organize and administer your wiki in Notion pages by creating many columns. If you have meticulously crafted a personalized Notion page after investing numerous hours in careful planning, kindly share it with us in the comments section below.